How To Repair A Broken Clay Pot For Your Herb Garden
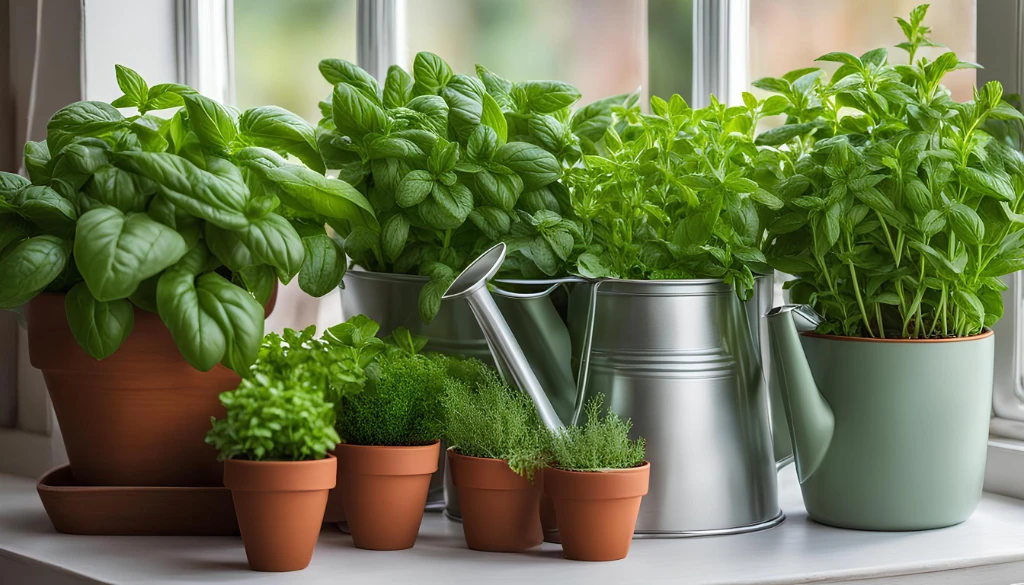
Many herb gardeners prefer to use terracotta or clay pots for their herb garden design. There are various reasons for preferring clay pots over other materials such as plastic or polished ceramics. The clay pots are:
- Made from natural soil
- Fired in a furnace (Naturally made)
- Rusty brown color that mixes well with every color of herbs
- Green stems and leaves appear more striking
- Easy to paint with any generic paint brand (Saves money)
Additionally, clay pots have known to provide scientific benefits too such as moisture control because of their porous nature. Clay pots are an investment in the herb gardens, if any of it breaks, it can be repaired very easily. In fact pieces of broken clay pots can be used to repair the damaged clay pots or often used to cover drainage holes in pots before adding soil and fertilizers.
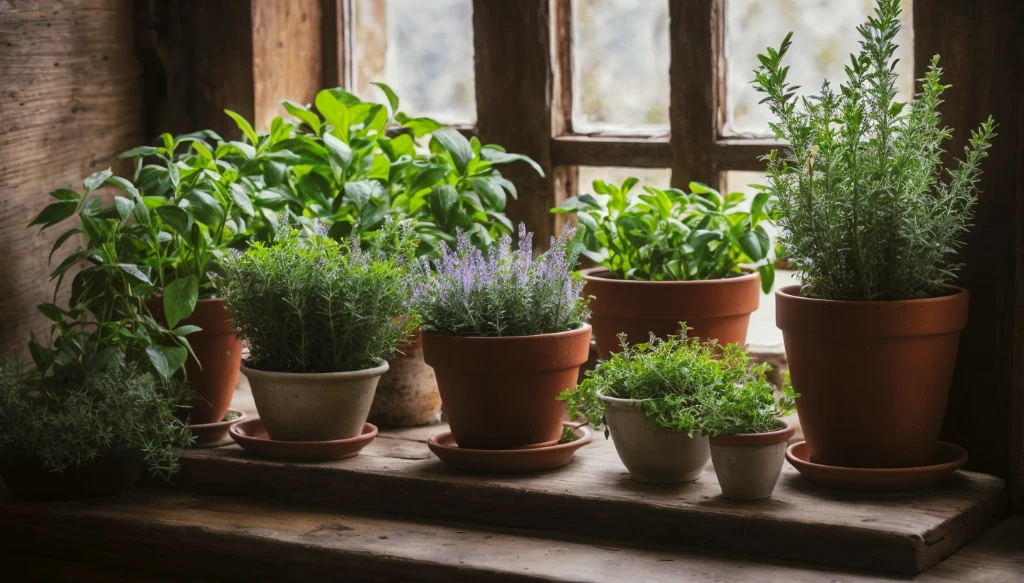
Why To Use Clay Pots For Your Herb Garden?
The porous nature of clay allows air and moisture to enter at the sides of the pots which provides a healthy environment for many herbs. Fine roots of the herbs are located deep within the soil are able to use the air and moisture effectively in clay pots. If you happen to over-water your herbs, clay pots have the ability to soak the excess moisture from the soil.
Clay pots are durable to a large extent and do not easily get blown away when it’s windy. The sudden change in temperature is also very well handled as the thick walls of the clay pots provide acts as an insulation material. Many herb gardeners love the countryside look of the clay pots as they age. Also in clay pots you can spot the mineral salts deposit in the form of a white crusty layer which you can easily scrub away.
How To Repair Broken Clay Pots?
If your clay pots had sudden accident from your pets or had fallen hard on cement patio, they are likely to rupture or break. Often the pots are not shattered completely, usually one piece breaks off, but don’t worry repairing clay pots is very easy. When you encounter such happenings, you need to first shift your herbs to a different pot and keep the broken clay pot with their gardening materials for repair. With the help of simple tools, the broken clay pot can be repaired and is soon will be able to hold another herb plants, perhaps will provide your herb garden design a more of ‘vintage’ look.
To repair clay pot, you will need:
- Glue or acetone
- Any used paint brush for application of glue
- Rubber gloves
- Sharp Blade
- 2 to 5 pieces of small cotton cloth
- Uncooked beans or rice
- Small container not too much in depth
- Washing liquid
- Small bucket
- Scrubbing tool such as tooth brush
How to repair a clay pot? Step by step instruction.
- Put on the rubber gloves
- Rub the pot’s broken edges with toothbrush gently and clean it with washing liquid and allow it to dry completely.
- Create a positioning box by filling it with uncooked rice or beans (3/4th of the box)
- Use brush to apply the glue on one edge
- Join the pieces together applying light pressure. Do not remove the glue that comes out from the joint.
- Put the pot carefully in the positioning container and leave it to dry
- Now, remove the excess glue coming out from the joint with a sharp blade. Be very careful!
- After 24 to 36 hours, your pot is ready to hold another herb plant.
To increase the life of your lay pots, it is advised that you paint them with waterproof paint. Happy Repairing!! Do share us your experiences here by leaving a comment. For any further assistance, we will be happy to help.